First, open your template. You CAN use photoshop (PSD) templates in Paint Shop Pro as well as PSPImage templates (yes, there are some designers out there who make them!) However, you can't use TIFF templates with PSP.
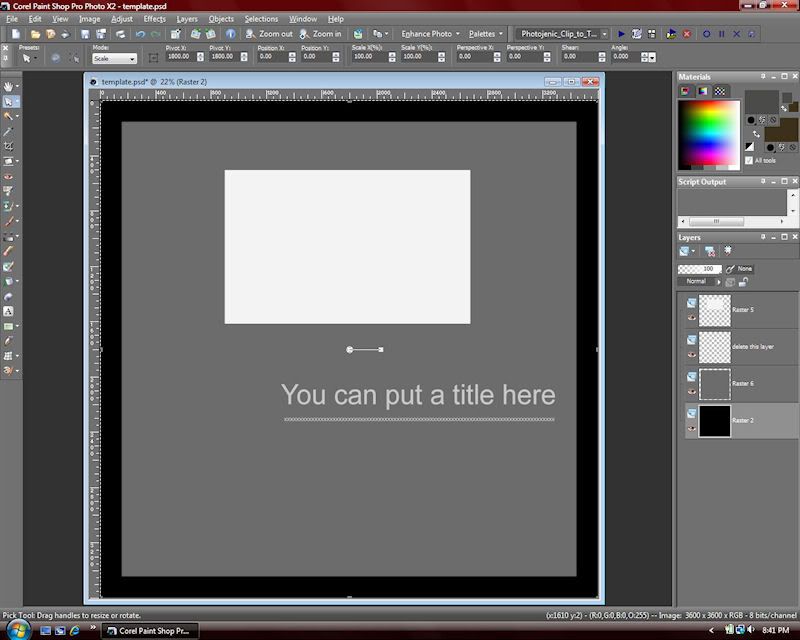
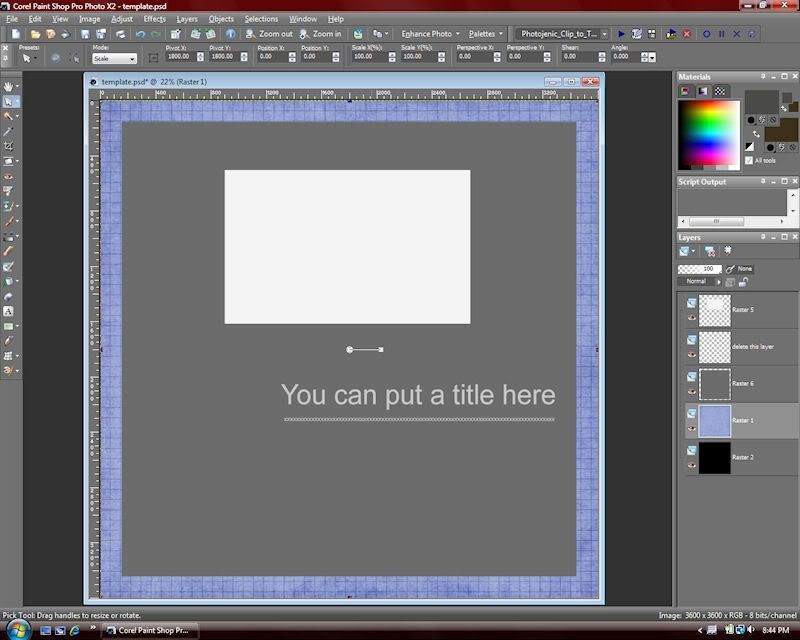
Adding the background paper is easy. Open the paper you want to use and copy/paste it into place above the background layer of your template.
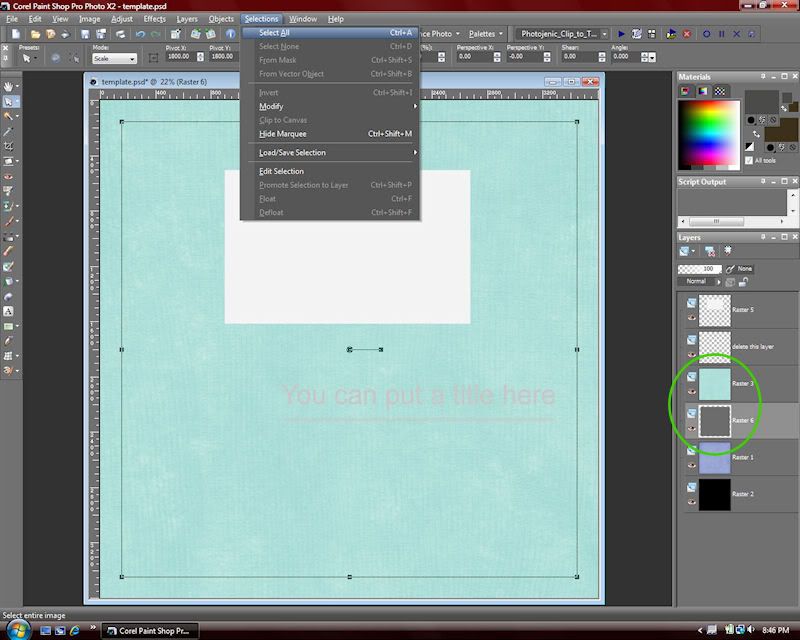
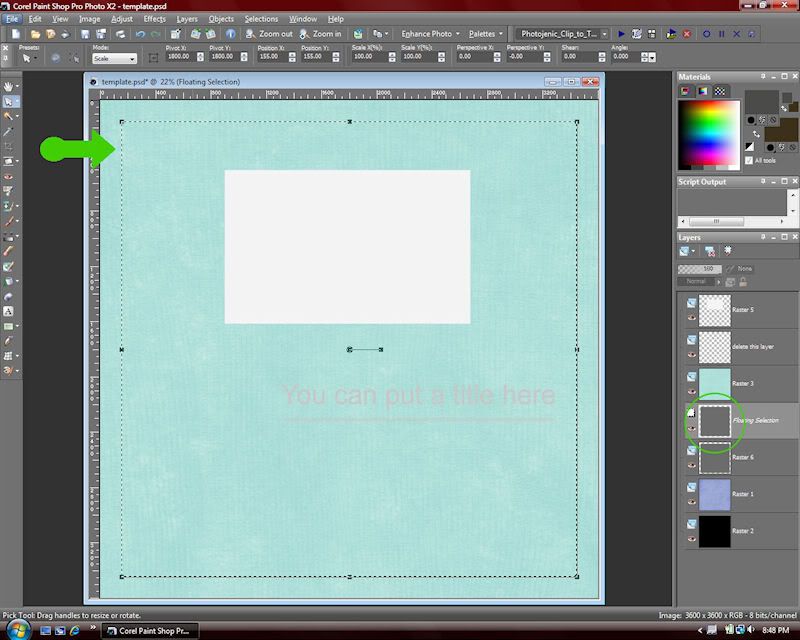
The other paper and photo layers start the same way. Copy and paste the paper you would like to use above the shape you'd like to "clip" it to. Switch layers so the shape layer is the active layer. Go to the Selections menu and choose "Select All". You will see marching ants around the perimeter of your layout.
Go back to the Selections menu and choose "float".
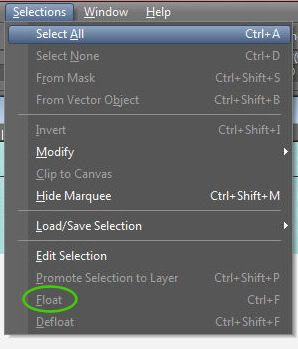
This will put the marching ants only around your shape. You will also see a new layer above your shape layer.
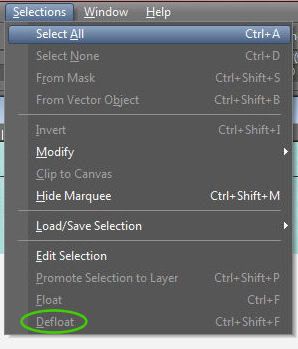
On the Selections menu again choose "defloat". This will remove that extra layer but leave the marching ants only around the shape.
In your layer palette, click on your paper that you'd like to "clip". The marching ants will move with you to the new layer. Go to the Selections menu and select "Invert" to select everything outside the shape.

Press delete on your keyboard and you will delete everything outside the shape - effectively clipping the paper to the template! Right-click or press ctrl-D to remove your selections.
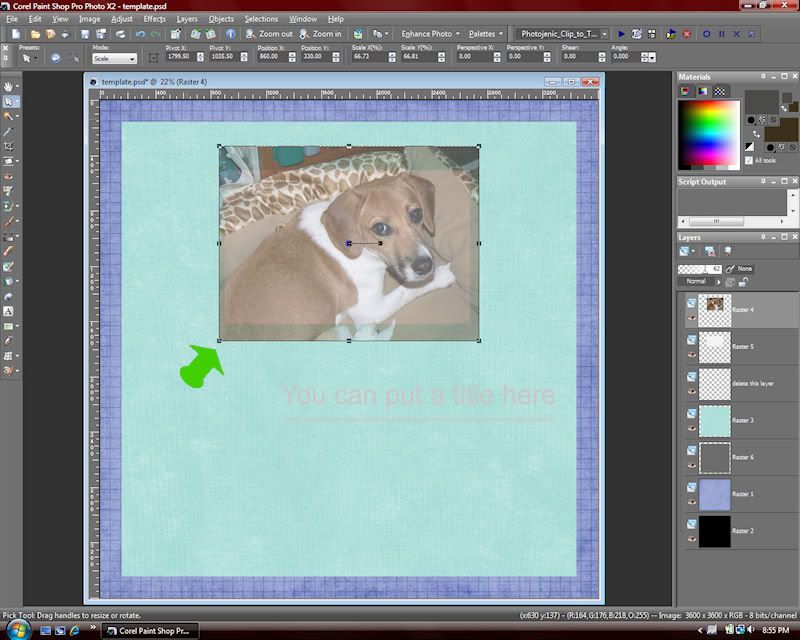
You can add a photo to the template in a similar way. Open a photo and copy/paste it above the layer you want to "clip" it to. Reduce the opacity of the photo so you can see both the photo and the shape beneath it.

Move and resize the photo until it's positioned how you like. (Resize the photo using the corners only so you don't distort the photo.) Then switch to the template layer and go through the same steps - Select All, Float, Defloat, switch layers, Invert, and Delete. You have added your photo to the template!
Many templates have guides for titles, journaling, and embellishments. You can use these to help with placement or personalize it by adding them wherever you like! Hide or delete the template layers, add shadows, and your layout is done! Be sure to save your layout with a new name so you can keep the original template.


I have found that when you have an irregular shape, the selection method here makes jagged edges. So if you have a wavy paper, the edge will be icky. I have always thought of turning those irregular shapes into masks, but I haven't tried it yet.
ReplyDeleteBut I LOVE to hear there are other PSP users out there. I think it's still a relevant, useful program that offers all but a few PS features for less than the price of PSE. I've had people think my digital layouts were paper and they are in awe when I say I don't use PS or PSE! So, ROCK ON!!!